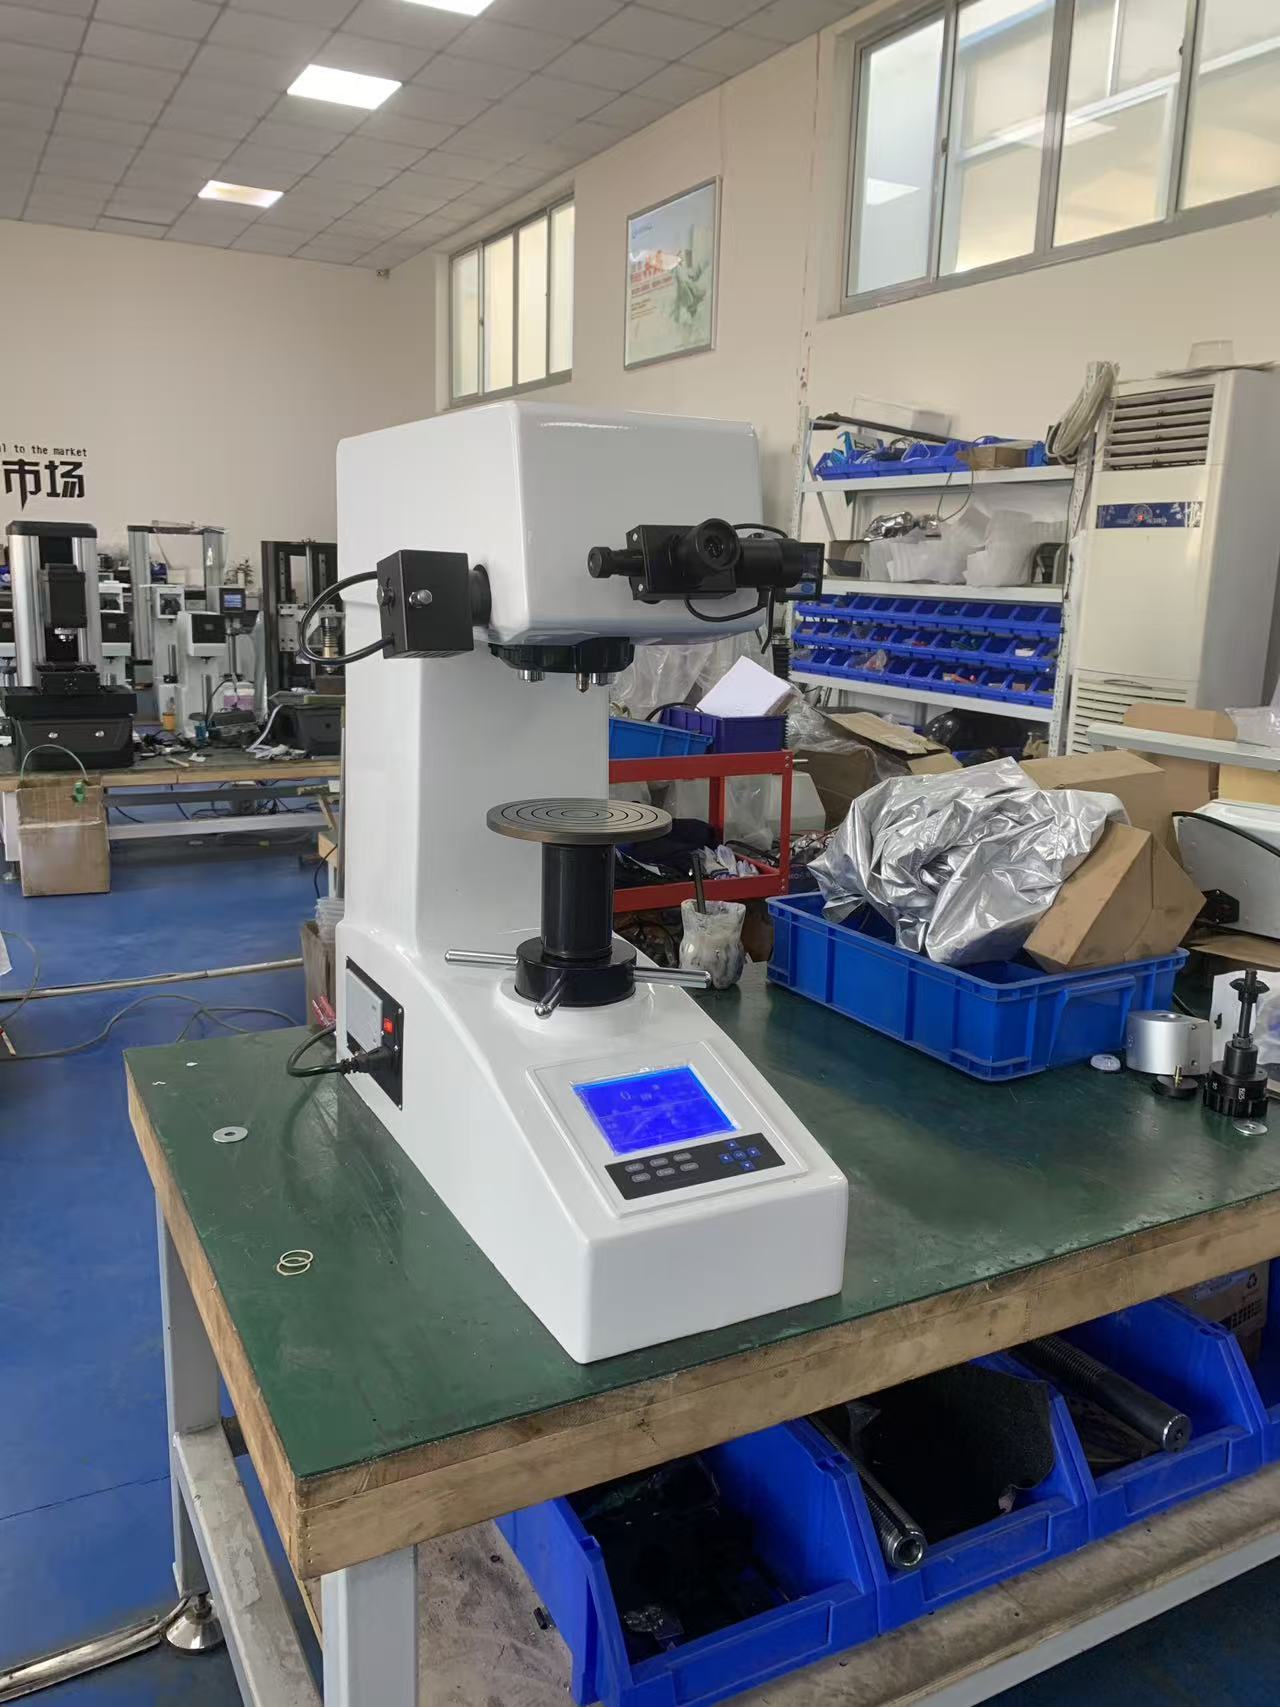
Efficient Data Recording in Brinell Hardness Testing: Tips for Using Built-in High-speed Printers
2025-10-28
Application Tutorial
This article examines the application of the Laizhou Jincheng Industrial Equipment Co., Ltd. HBS-3000B Precision Brinell Hardness Tester in testing various materials, focusing on challenges such as indentation deformation and parameter adjustments in black and non-ferrous metal testing. By analyzing material property differences, test load selection, dwell time, and indenter types, combined with tips for rapid data recording using the built-in high-speed printer, this guide supports academic researchers and quality engineers in achieving precise and efficient hardness measurements, thereby enhancing test data stability and scientific reliability.

Efficient Data Recording in Brinell Hardness Testing: Mastering the HBS-3000B’s Built-in High-speed Printer
In metallurgical laboratories and quality control environments, accurately measuring material hardness is crucial for ensuring product reliability and compliance with industry standards. The HBS-3000B Brinell Hardness Tester from Laizhou Jincheng Industrial Equipment Co., Ltd. offers an advanced solution for high-precision hardness testing across a range of black and non-ferrous metals. This article delves into the technical challenges of Brinell hardness measurements, with special attention to indentation deformation and parameter adjustments. Additionally, it highlights practical tips for leveraging the built-in high-speed printer to streamline data recording, enhancing operational efficiency for researchers and quality engineers alike.
Understanding Material-Specific Challenges in Brinell Hardness Measurement
Brinell hardness testing, grounded in the ASTM E10 standard, involves pressing a hardened steel or carbide ball into the specimen surface under a standardized load and measuring the resulting indentation diameter. However, diverse material properties can influence indentation behavior significantly:
- Black Metals (e.g., Carbon Steel, Cast Iron): These often sport higher hardness and uniform surface textures but may exhibit localized stress concentrations influencing indentation shape.
- Non-Ferrous Metals (e.g., Aluminum, Copper Alloys): Tend to have lower hardness and more ductile behavior, resulting in greater indentation plastic deformation and potential surface pile-up around the impression.
Recognizing these material-specific traits is critical to selecting appropriate testing parameters and interpreting hardness values accurately.
Optimizing Testing Parameters: Load Selection, Dwell Time, and Indenter Choice
The HBS-3000B enables flexible parameter configurations tailored to maximize measurement reliability:
- Test Load: Determined by material hardness and specimen thickness. For example, black metals frequently utilize loads between 1500 to 3000 kgf, whereas softer non-ferrous metals may require lower forces around 500 to 1000 kgf to prevent excessive deformation.
- Dwell (Hold) Time: Optimal duration typically ranges from 10 to 30 seconds depending on the metal’s viscoelastic response. This period allows the indentation to stabilize, minimizing transient creep effects that could skew diameter measurements.
- Indenter Type: While standard 10 mm steel balls suit most applications, tungsten carbide indenters offer superior wear resistance and precision for harder materials exceeding 650 HBW.
Mitigating Indentation Deformation Issues through Surface Preparation and Parameter Control
Material surface condition markedly affects indentation quality. Polished, clean specimens reduce irregular indentation profiles and measurement variability. For metals prone to pile-up or sink-in effects, adjustments such as reduced test loads and extended dwell times can help achieve consistent results.
Leveraging the HBS-3000B's Built-in High-Speed Printer for Swift, Accurate Data Recording
The HBS-3000B's integrated thermal printer markedly elevates testing productivity by enabling instantaneous printout of hardness test reports. Key operational tips include:
- Direct Print Commands: Utilize the tester’s control panel shortcuts to print after each test cycle without interrupting workflow.
- Batch Reporting: Program batch tests with the machine’s memory function, then generate summarized printouts that compile multiple results, ideal for quality audits.
- Clear Labeling: Customizable header fields allow embedding sample IDs, operator details, and test conditions to ensure traceability of each record.
- Maintenance: Regular cleaning of the thermal head prolongs printer lifespan and prevents data loss due to faded prints.
Employing these techniques significantly reduces manual data transcription errors and accelerates reporting, enabling laboratories to meet stringent turnaround time targets.
Integrating ASTM E10 Standards for Quality Assurance
Calibration and testing procedures aligned with ASTM E10-21 provide a robust framework ensuring comparability of Brinell Hardness Numbers (BHN) across laboratories. The HBS-3000B supports:
- Standardized load application and dwell timing consistent with ASTM protocols
- Verification tooling for periodic calibration checks to maintain measurement traceability
- Automated compliance reporting functions easing documentation burdens
Real-World Case Study: Hardness Testing at a Research Facility
At a university materials science department, utilizing the HBS-3000B has reduced data acquisition time by 35%, significantly enhancing testing throughput. Complex multi-material samples demanding rapid parameter switching benefit from the tester’s intuitive interface and fast printouts, yielding dependable data sets for academic publications.
Overall, the synergy between precise hardness measurement and rapid data documentation makes the HBS-3000B a trusted instrument for laboratories demanding robust, standardized testing solutions.


