Home > News > Brinell Hardness Indentation Blurry Edges: Causes, Measurement Errors, and Practical Fixes

Brinell Hardness Indentation Blurry Edges: Causes, Measurement Errors, and Practical Fixes

Jin Cheng
2026-02-18
Application Tips
Blurry indentation edges in Brinell hardness testing can quickly turn a routine inspection into a reliability risk, because unclear diameters are harder to read consistently and often lead to reporting scatter. This article helps you pinpoint the three most common root causes behind “fuzzy” Brinell impressions: (1) low indentation clarity that compromises diameter reading, (2) inadequate specimen surface flatness and preparation that distorts the impression boundary, and (3) calibration drift or aging components that affect force, dwell, or optical measurement. You will get field-ready guidance on using an optical microscope or digital image analysis system to read indentation diameters correctly, building a repeatable specimen pre-treatment workflow (cleaning, grinding, and surface checks), and spotting early warning signs of equipment wear. Practical shop-floor verification steps and a clear calibration pathway are aligned with GB/T 231.1 and ISO 6506 expectations, so you can standardize day-to-day practice, improve result consistency, and strengthen quality-system compliance. In short: improving indentation readability and measurement discipline improves test accuracy—building customer trust while supporting international standard conformance.
Blurry versus sharp Brinell indentation edge and its effect on diameter reading repeatability

Brinell Indentation Edge Looks Blurry? Your Reading Is Probably Drifting More Than You Think

When the Brinell indentation rim is fuzzy, you’re not just fighting “a hard-to-see circle”—you’re risking a measurable Brinell hardness error that can push a borderline part into a wrong decision. In production labs, this often shows up as inconsistent reports between shifts, suppliers, or sites—exactly the kind of variation that buyers flag during audits.

Here’s the practical reality: better indentation clarity + flatter specimens + reliable calibration is the shortest path to higher test accuracy—and in B2B terms, that means higher customer trust and stronger compliance with ISO/GB standards.

Why a “Small” Blurred Edge Creates a Big Brinell Hardness Error

Brinell hardness (HBW/HBS) is calculated from the indentation diameter. If the edge is unclear, the diameter reading becomes subjective—especially when different operators choose slightly different “rim points.” Even a tiny diameter deviation can shift your final HB value, which is why blurred edges correlate strongly with poor repeatability.

Rule-of-thumb impact (field reference)

In many common HBW setups (e.g., 2.5/187.5 or 10/3000), a diameter reading shift of 0.02–0.05 mm can easily produce around ±1% to ±3% hardness variation—sometimes more, depending on material and load/ball size. That’s enough to trigger disputes when specifications are tight.

What you see Typical root cause How it shows up in results
Edge looks “foggy” / double rim Surface roughness, smearing, poor illumination Operator-to-operator variation
Indentation appears oval Specimen tilt, curved surface, unstable seating Two diameters differ unusually; repeatability drops
Same part, different day = different HB Calibration drift, worn ball, load/time mismatch Systematic bias vs. reference blocks
Blurry versus sharp Brinell indentation edge and its effect on diameter reading repeatability

Root Cause #1: Indentation Reading Errors (Optics, Lighting, and Method)

If you’re reading a fuzzy edge with a handheld optical magnifier, the problem is rarely your eyesight. It’s usually a mix of lighting angle, focus plane, and inconsistent “edge selection”. Your goal is to make the edge decision repeatable—not heroic.

How to read Brinell diameter more consistently (workshop-friendly)

  • Stabilize illumination: use consistent ring light intensity or a fixed lamp angle. In many labs, a 30–45° oblique light makes the rim contrast stronger than vertical glare.
  • Lock the focus plane: focus on the rim, not the polished surface around it. A shallow depth-of-field can make the rim “split” into two edges.
  • Measure two perpendicular diameters: record d1 and d2, then use the average. If d1 and d2 differ unusually, treat it as a setup/surface problem first.
  • Standardize edge definition: agree internally whether you pick the “outermost dark rim” or the “mid-contrast boundary,” and write it into your work instruction.
  • Prefer image analysis when possible: a camera-based system with calibrated pixel-to-mm scaling typically reduces operator bias and improves traceability in audits.

Root Cause #2: Poor Surface Preparation (Flatness, Roughness, and Cleanliness)

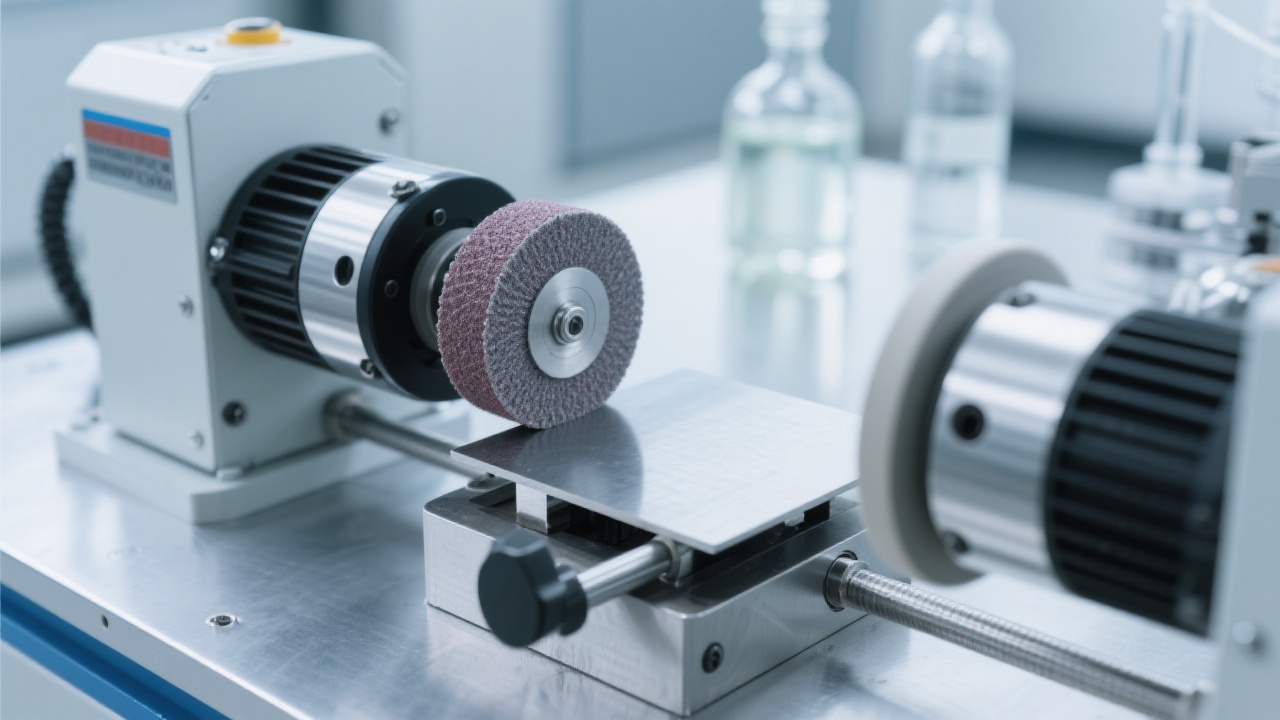
In real production, “just test it quickly” is exactly how you end up with a blurred Brinell indentation edge. Any surface tearing, scale, oil, or curvature reduces rim contrast and makes diameter reading subjective. If your site is pursuing ISO 9001 consistency, this is one of the cheapest wins.

Specimen pre-treatment checklist (practical, not over-polished)

  1. Flatten the test spot: remove obvious curvature or weld crown; ensure stable seating on the anvil.
  2. Deburr & de-scale: remove oxidation, coatings, or shot-blast peaks at the test point.
  3. Control roughness: for many steels and castings, sanding to around Ra 0.8–1.6 μm at the test spot is often sufficient for a readable rim (adjust to your internal spec and material).
  4. Clean properly: wipe with alcohol-based cleaner to remove oil film that creates glare and “soft” boundaries.
  5. Confirm thickness/support: thin parts or flexible fixtures can distort the indentation and rim.

Standards note (for your SOP reference)

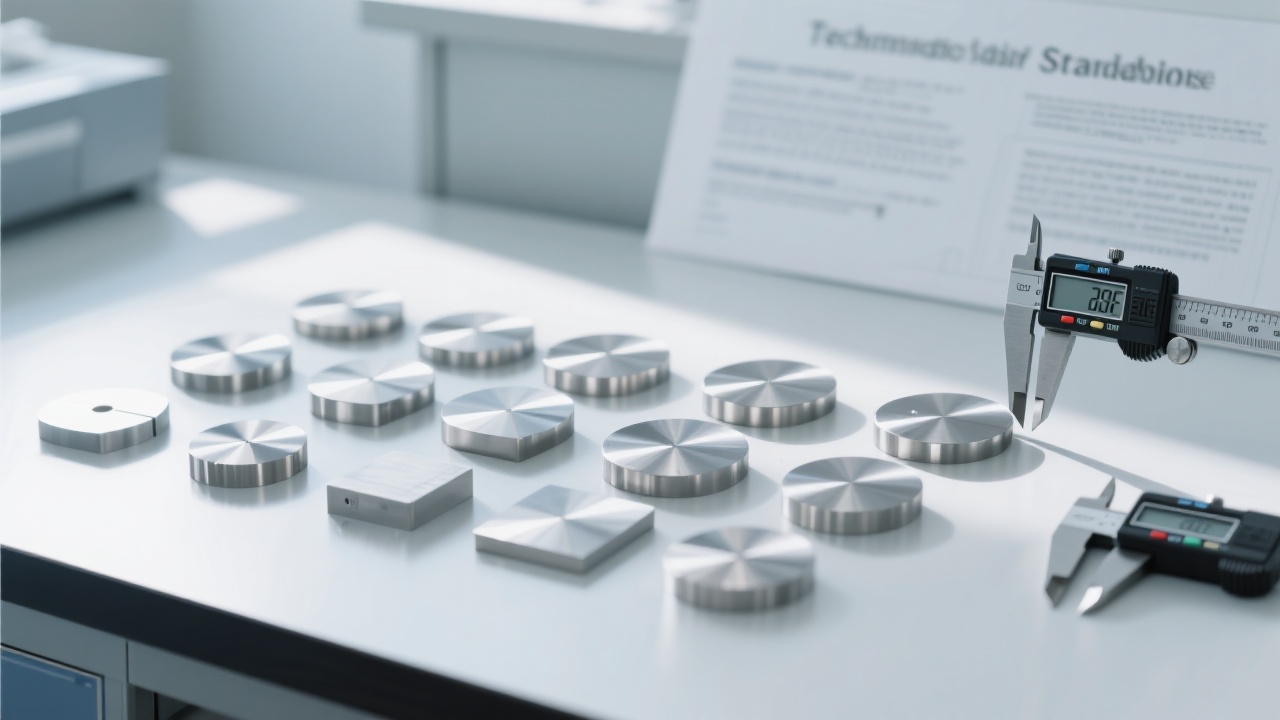
GB/T 231.1 / ISO 6506 emphasize that the test surface should be properly prepared, clean, and supported so the indentation can be measured accurately; diameter readings are taken in (at least) two perpendicular directions and averaged. Align your work instruction with these principles to protect repeatability.

Specimen surface preparation levels and their influence on Brinell indentation rim clarity

Root Cause #3: Calibration Drift, Worn Indenter, and Aging Mechanics

If your edge is blurry and your results slowly drift over weeks, suspect the system—not the operator. Brinell testers rely on correct force application, dwell time control, indenter condition, and the accuracy of the measuring device (microscope scale or image system). Any deviation can cause systematic bias that looks like “random operator error.”

Fast signs your Brinell tester needs attention

  • Indentations look inconsistent under the same setup (same material, same load, same dwell).
  • Reference block results trend to one side (e.g., always low) over multiple checks.
  • Ball/indenter shows wear or contamination; rim looks torn or irregular.
  • Force application feels “rough” (noise, stick-slip, hydraulic issues) or dwell time is not stable.
  • Measuring optics drift: scale/reticle mismatch, camera calibration not verified, or inconsistent pixel scaling.

Workshop-level “simple calibration” you can actually run

You can’t replace accredited verification with a quick check, but you can build a daily/weekly discipline that catches drift early:

  • Use certified reference blocks (traceable) that match your common hardness range.
  • Run 3 indents on the block (proper spacing), record mean and spread.
  • Track trends in a simple control chart. If you see steady drift, stop and investigate before testing customer lots.
  • Verify measuring system scaling (for image analysis) on a calibrated stage micrometer; many shops do this monthly.

Many quality teams find that adding a 10-minute weekly reference-block routine reduces internal re-test events by roughly 20–40% over a quarter—mainly by catching “silent drift” early.

Standards note (audit-friendly wording)

Under ISO 6506 and commonly aligned national standards (including GB/T 231.1), maintaining the tester’s verification status and measurement traceability is essential. If your calibration status is unclear, your hardness report credibility is the first thing buyers question.

Brinell hardness tester verification workflow with reference blocks and measurement system checks

Make Your Results More Defensible: A Simple Standardized Routine You Can Train in One Shift

If your customer is automotive, aerospace supply chain, heavy machinery, or any audited industry, you already know the question you’ll get: “How do you ensure your Brinell hardness test is consistent across operators and over time?” A standardized routine answers that question before it’s even asked.

Step 1 — Prepare the spot (repeatable surface)

You control flatness, roughness, cleanliness, and support first. If the rim is still fuzzy, don’t force a reading—fix the cause.

Step 2 — Run the test (controlled load & dwell)

Keep load, dwell time, and seating consistent; avoid vibration; ensure your setup matches your procedure and material.

Step 3 — Measure (one method, two diameters)

Use the same optical settings each time, take two perpendicular diameters, average them, and record any abnormal rim appearance.

Step 4 — Verify (small habit, big credibility)

Put reference-block checks on a schedule, trend the data, and document actions. It’s the fastest way to keep your reports defensible.

Turn Blurry Indents into Audit-Ready Results

If you want higher Brinell test accuracy with less operator dependency, the fastest upgrade is a consistent measuring workflow and reliable verification routine. Improving test accuracy = improving customer trust + meeting international standards.

Get a Brinell Hardness Tester Calibration & Verification Checklist (HBW/ISO 6506-ready)

Use it to standardize operator training, reduce re-tests, and make hardness reports easier to defend with global customers.

Name *
Email *
WhatsApp *
Message*

Recommended Products

Related Reading

HR-150A Manual Rockwell Hardness Tester: Complete Guide to Usage, Maintenance & Inspection Efficiency

2025-09-19 | https://shmuker.oss-accelerate.aliyuncs.com/tmp/temporary/60ec5bd7f8d5a86c84ef79f2/60ec5bdcf8d5a86c84ef7a9a/20240305160636/lable.png HR-150A Rockwell hardness tester manual Rockwell hardness tester usage guide hardness testing operation procedure industrial on-site hardness measurement global hardness tester after-sales service

Common FAQs on Brinell Hardness Testing for Soft Metals: Load, Indentations, and Data Consistency Explained

2025-12-24 | https://shmuker.oss-accelerate.aliyuncs.com/tmp/temporary/60ec5bd7f8d5a86c84ef79f2/60ec5bdcf8d5a86c84ef7a9a/20240305160636/lable.png soft metal Brinell hardness tester Brinell hardness load selection hardness tester precision control soft metal hardness testing techniques automated hardness testing

Efficient Rockwell Hardness Tester Operation Training: Key Elements for Rapid Technician Proficiency

2025-12-04 | https://shmuker.oss-accelerate.aliyuncs.com/tmp/temporary/60ec5bd7f8d5a86c84ef79f2/60ec5bdcf8d5a86c84ef7a9a/20240305160636/lable.png automatic Rockwell hardness tester international hardness testing standards hardness tester after-sales service high-precision hardness measurement operation training course

How to Calibrate Electronic Brinell Hardness Testers Using Standard Hardness Blocks: A Detailed Guide to ISO and JIS Compliance

2025-09-19 | https://shmuker.oss-accelerate.aliyuncs.com/tmp/temporary/60ec5bd7f8d5a86c84ef79f2/60ec5bdcf8d5a86c84ef7a9a/20240305160636/lable.png Electronic Brinell Hardness Tester Calibration Standard Hardness Blocks ISO 6506 JIS Z2243 Hardness Tester Maintenance

Why Brinell Hardness Testing Is Essential for Forging Quality Inspection: Principles and Practical Cases

2025-12-16 | https://shmuker.oss-accelerate.aliyuncs.com/tmp/temporary/60ec5bd7f8d5a86c84ef79f2/60ec5bdcf8d5a86c84ef7a9a/20240305160636/lable.png Brinell hardness testing forging quality inspection metal hardness measurement hardness test parameters Jinji Brinell hardness tester

Hot Products

Popular articles
营销主题配图_1753165118371.jpg
Factory pictures2-3.jpg
营销主题配图_1753168871336.jpg
营销主题配图_1752549782489.jpg
营销主题配图_1752550527320.jpg
HVS-Series-2.jpg
营销主题配图_1753166637237.jpg
营销主题配图_1753168394925.jpg
HVS-Series-4.jpg
Factory Photos-7.jpg
Recommended Reading
Contact us
Contact us
https://shmuker.oss-accelerate.aliyuncs.com/tmp/temporary/60ec5bd7f8d5a86c84ef79f2/60ec5bdcf8d5a86c84ef7a9a/thumb-prev.png