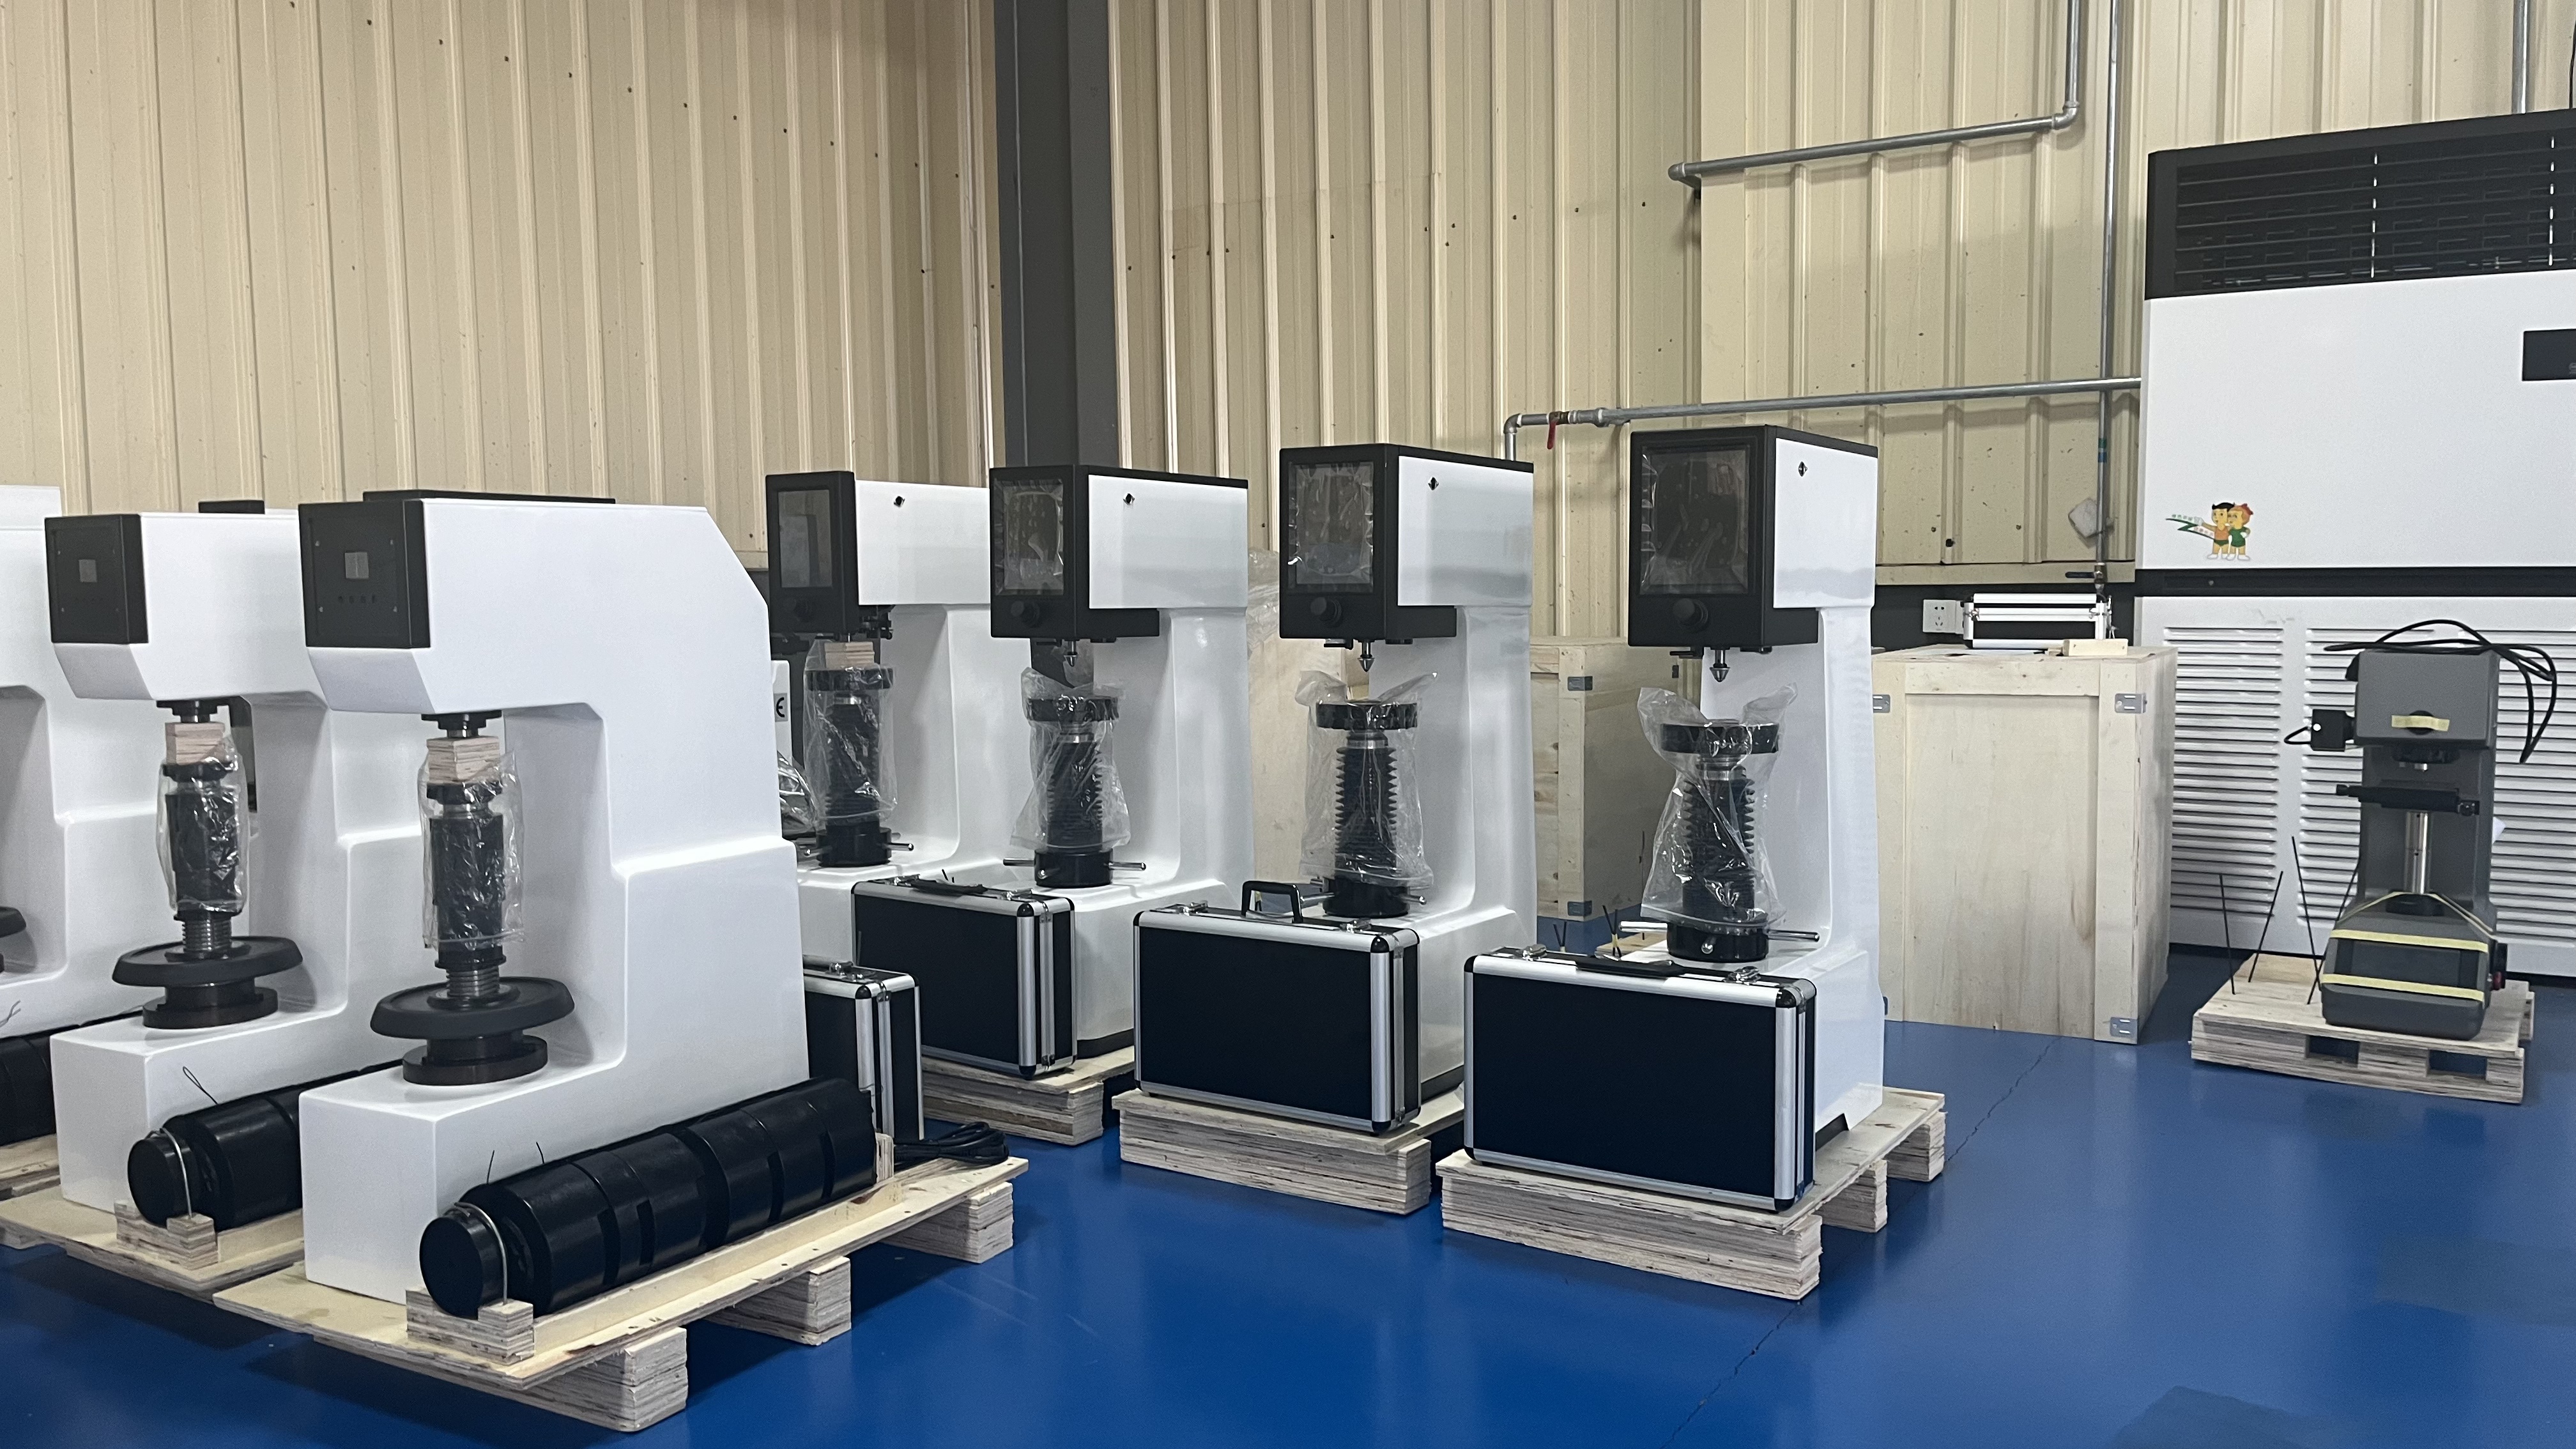
In the precision-driven manufacturing industry, where 0.1mm deviations can compromise product integrity, maintaining accurate hardness testing equipment isn't just a best practice—it's a critical quality control imperative. For professionals relying on Brinell hardness testers, regular calibration with certified standard blocks ensures measurements align with international standards, directly impacting material reliability and production consistency.
Before delving into calibration procedures, it's essential to establish a robust maintenance routine. Industry studies show that 42% of hardness testing inaccuracies stem from inadequate equipment upkeep, not calibration issues. For the Jincheng HBS-3000 electronic Brinell hardness tester, these preventive measures are straightforward yet impactful:
Calibration frequency depends on usage intensity—laboratories conducting over 50 tests daily should perform weekly checks, while moderate-use facilities (10-20 tests/day) can maintain monthly intervals. Always use NIST-traceable standard blocks with certified hardness values and expiration dates clearly marked.

Environmental conditions significantly affect results. Maintain testing area at 23°C ± 2°C with relative humidity between 40-60%. Allow standard blocks to acclimate for at least 30 minutes if transferred from storage areas with different temperatures.
| Preparation Step | ISO 6506 Requirement | JIS Z2243 Requirement |
|---|---|---|
| Block Surface Cleaning | Ethanol-based cleaning, no residue | Acetone cleaning, lint-free cloth |
| Indentation Pattern | 5 indentations minimum, 3mm apart | 3 indentations minimum, 2mm apart |
| Load Application Time | 10-15 seconds | 15-30 seconds |
The Jincheng HBS-3000 streamlines calibration through its intuitive interface, reducing the typical 45-minute process to under 30 minutes. Begin by selecting "Calibration Mode" from the main menu—here's where the tester's engineered precision truly shines:
Pro Tip: For optimal results, position the standard block so that indentations fall at least 10mm from the edges. The HBS-3000's built-in laser alignment guide eliminates guesswork, reducing operator error by up to 65% compared to traditional manual positioning.
Post-calibration, calculate the average hardness value from all indentations and compare to the certified value. Both ISO 6506 and JIS Z2243 define clear acceptance thresholds, but industry best practice often adopts the stricter standard:
Acceptance Thresholds:
• For hardness values ≤ 350 HBW: Maximum allowable deviation is ±3% (ISO) or ±2.5% (JIS)
• For hardness values > 350 HBW: Maximum allowable deviation is ±4% (ISO) or ±3.5% (JIS)
• If results exceed these limits, initiate the HBS-3000's auto-calibration adjustment via the "System Settings" menu—this proprietary feature eliminates the need for external service engineers for minor adjustments.
Even with meticulous maintenance, unexpected issues can arise. Based on field service data from over 5,000 HBS-3000 units worldwide, these are the most frequent calibration challenges and their solutions:
This typically occurs due to temperature instability or sensor calibration drift. If readings vary by more than 1.5% across consecutive tests:
The HBS-3000's thermal printer is designed for 10,000+ prints, but environmental factors can affect performance:
Proper calibration isn't just about meeting standards—it's about ensuring every material certification, every quality report, and every product leaving your facility meets the exacting demands of modern manufacturing. With the Jincheng HBS-3000, you're not just investing in a hardness tester; you're gaining a partner in precision that grows with your quality control needs.
Many quality managers underestimate how calibration inconsistencies impact downstream processes—from material selection to final product performance. By implementing the structured approach outlined here, you'll not only maintain compliance but also gain valuable insights into your testing equipment's long-term performance trends. Remember, in precision manufacturing, the difference between good and great often lies in the details of your calibration protocol.

